How I Self-Hosted Ghost on My Home-lab in 30 Minutes
How I Self-Hosted Ghost on My Homelab in 30 Minutes
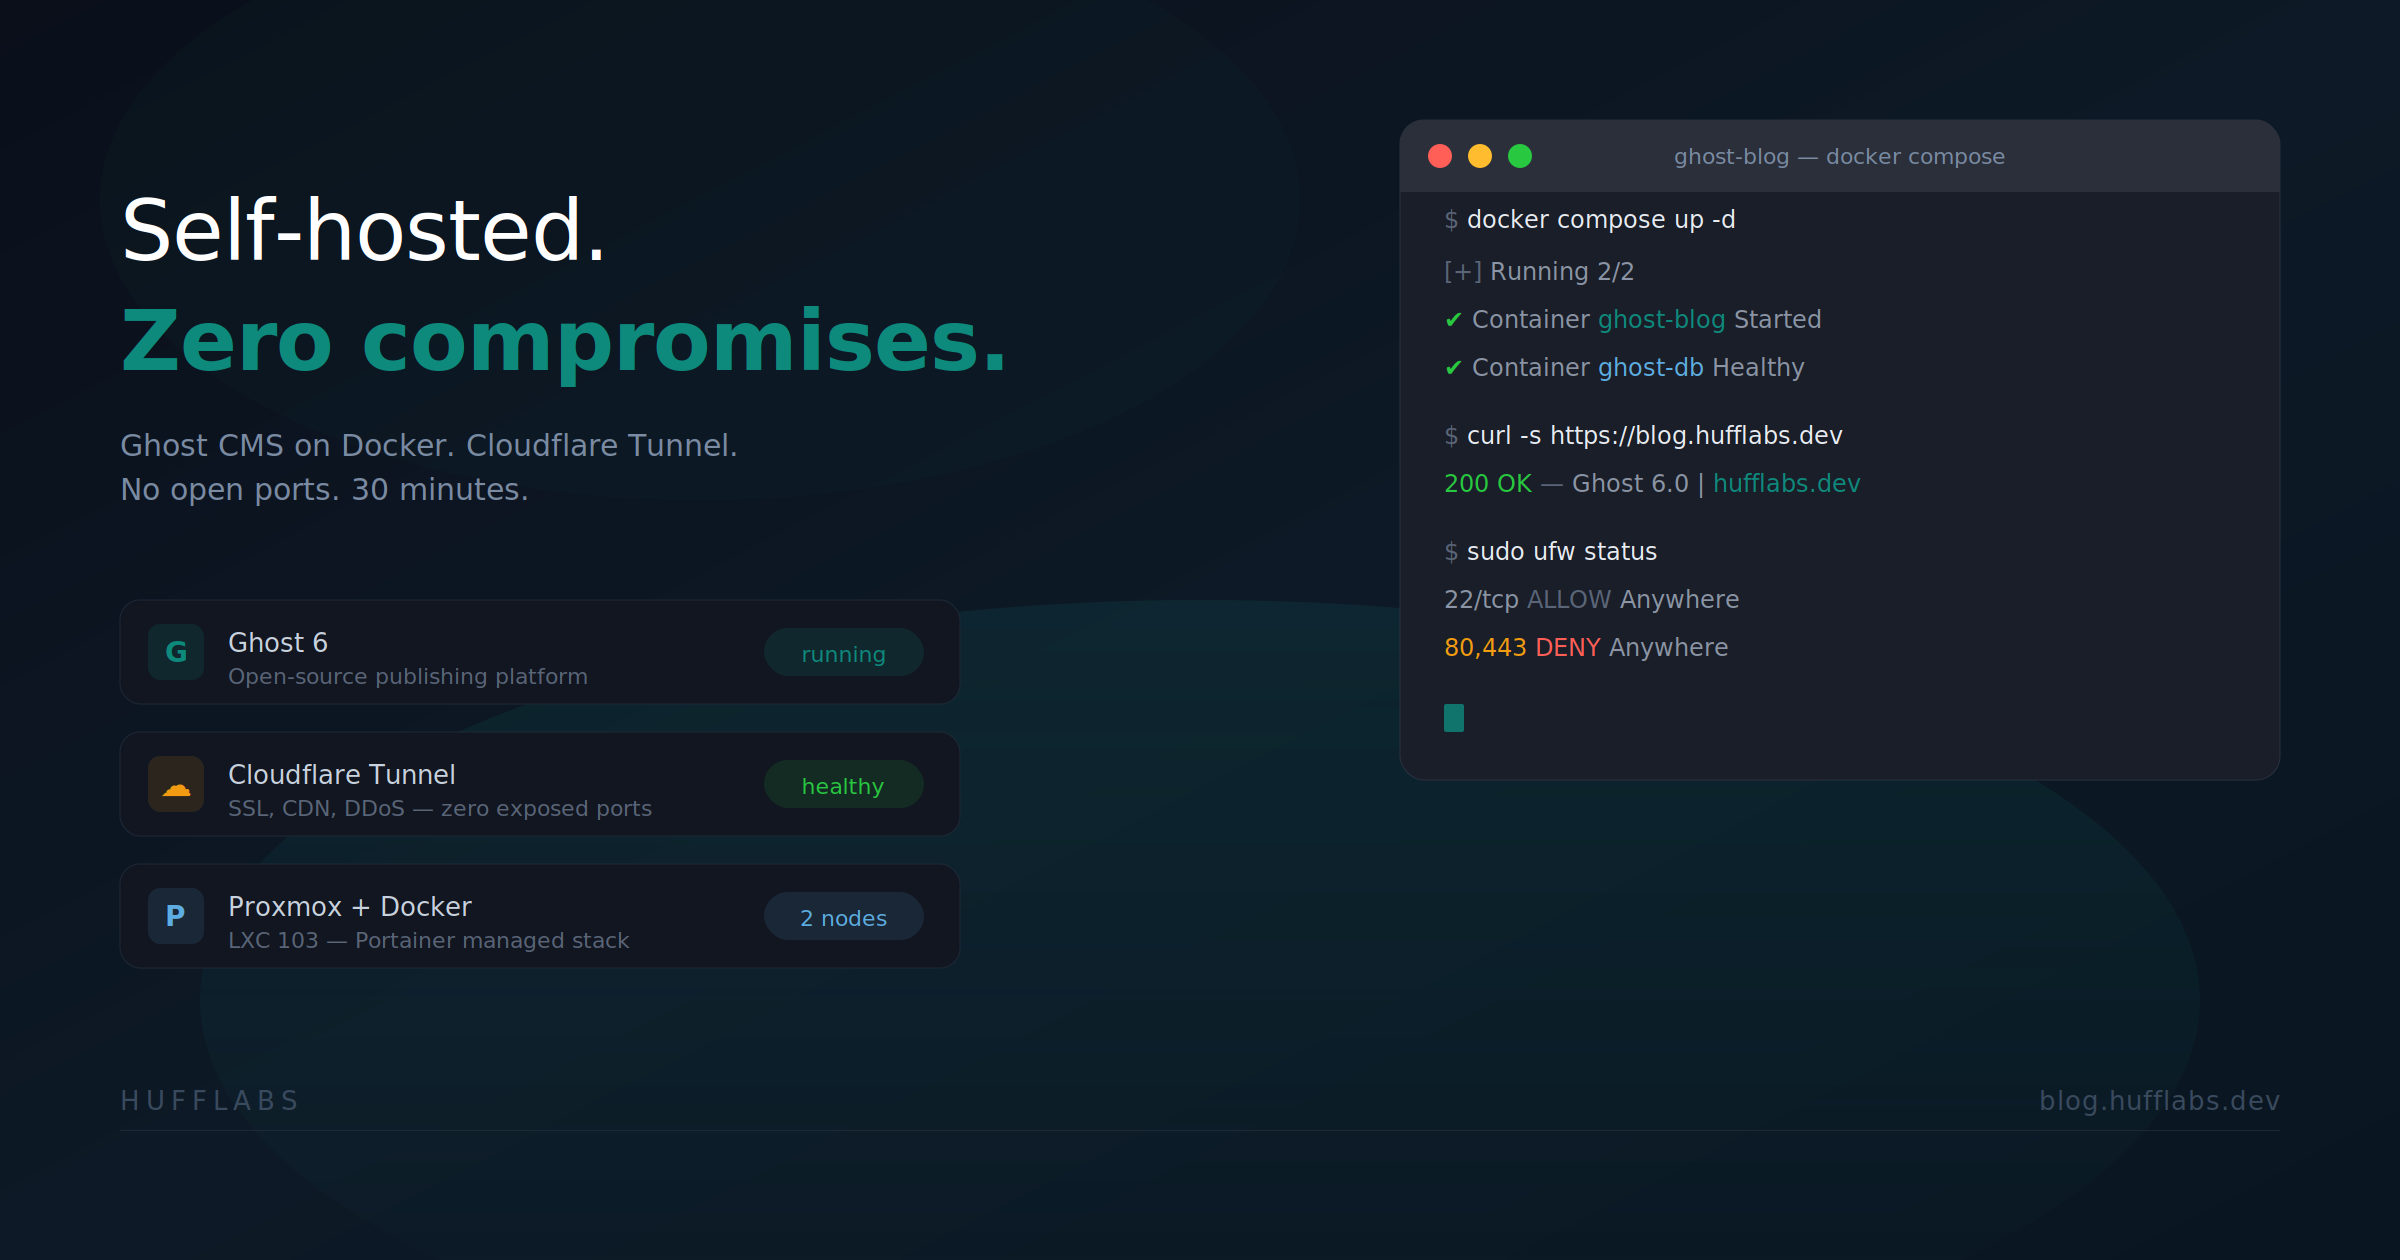
If you're running a homelab and want to start publishing content, Ghost is one of the cleanest platforms out there. It's open source, built on Node.js, and designed for writers — not plugin management. I had mine live in about 30 minutes using Docker, and I didn't open a single port on my firewall.
Here's how I did it.
My Setup
I run a Proxmox cluster at home with TrueNAS for storage, Nginx Proxy Manager for reverse proxying, and a Cloudflare Tunnel for external access. My Docker containers live on an LXC that also hosts my media stack — Jellyfin, Sonarr, Radarr, the usual suspects. Ghost got deployed as a separate Portainer stack on the same LXC.
If you have Docker running anywhere — an LXC, a VM, a bare metal box — you can do this.
The Stack
Ghost only needs two containers: the Ghost app itself and MySQL 8. That's it. No Nginx, no Caddy, no Certbot — because my existing reverse proxy and Cloudflare Tunnel handle all of that already.
Here's the compose file I used:
services:
  ghost:
    image: ghost:6-alpine
    container_name: ghost-blog
    restart: always
    ports:
      - "2368:2368"
    environment:
      url: https://blog.yourdomain.com
      database__client: mysql
      database__connection__host: ghost-db
      database__connection__user: ghost
      database__connection__password: ${DB_PASSWORD}
      database__connection__database: ghost_db
      mail__transport: SMTP
      mail__options__host: smtp-relay.brevo.com
      mail__options__port: 587
      mail__options__secure: "false"
      mail__options__auth__user: your_brevo_login
      mail__options__auth__pass: your_brevo_smtp_key
      mail__from: "'YourName' <[email protected]>"
    volumes:
      - ghost_content:/var/lib/ghost/content
    depends_on:
      ghost-db:
        condition: service_healthy

  ghost-db:
    image: mysql:8.0
    container_name: ghost-db
    restart: always
    environment:
      MYSQL_ROOT_PASSWORD: ${DB_ROOT_PASSWORD}
      MYSQL_USER: ghost
      MYSQL_PASSWORD: ${DB_PASSWORD}
      MYSQL_DATABASE: ghost_db
    volumes:
      - ghost_db:/var/lib/mysql
    healthcheck:
      test: ["CMD", "mysqladmin", "ping", "-h", "localhost"]
      interval: 10s
      timeout: 5s
      retries: 5

volumes:
  ghost_content:
  ghost_db:
I generated two random passwords with openssl rand -hex 32 and passed them in as Portainer environment variables for DB_PASSWORD and DB_ROOT_PASSWORD. Never hardcode database passwords in your compose file.
Transactional Email with Brevo
Ghost needs SMTP for magic link logins, password resets, and staff invites. I went with Brevo — it's free, no credit card required, and you get 300 emails per day which is way more than you'll need for a personal blog.
The setup was painless: create a free account, add your domain, and Brevo auto-detects Cloudflare and drops the DKIM and DMARC records in with one click. Grab your SMTP login and key from the dashboard and plug them into the compose environment variables.
Routing Through Cloudflare Tunnel
This is where the homelab advantage kicks in. I'm not opening ports 80 or 443 on my router. I'm not exposing my IP. My Cloudflare Tunnel is already running as a systemd service on my Proxmox host, so all I needed to do was:
- Add a proxy host in Nginx Proxy Manager:
blog.mydomain.com→http://local-ip:2368 - Add a public hostname route in my existing Cloudflare Tunnel pointing to NPM
That's it. Cloudflare handles SSL, CDN, and DDoS protection. My server stays invisible.
The Result
You're reading this on it. The whole thing — Ghost, MySQL, SMTP, reverse proxy, tunnel route — took about 30 minutes and cost me nothing. Ghost is fast, the editor is the best I've used, and I own every piece of it.
If you're running a homelab and you've been thinking about starting a blog, stop thinking about it. Ghost on Docker with a Cloudflare Tunnel is the move.